I developed a small application called page-logger for purely selfish and lazy reasons. However, it turned out to be not only a learning experience but also a source of income. In this post, I’ll walk you through the motivations behind its creation, the development process, and how it unexpectedly generated revenue.
Why I Built Page-Logger
After years of using Blogger, I switched to Jekyll hosted on GitHub. While Jekyll served me well, I missed a lightweight Google Analytics feature embedded in Blogger. This feature allowed me to track the reception of individual posts, which I found invaluable. Determined to replicate this functionality, I decided to build my own solution.
How I Built Page-Logger and What I Learned
I opted for Node.js, leveraging the Koa framework. The application essentially comprised two components:
- An HTTP-accessible API for posting page views.
- A simple site for viewing the collected data.
The site, although straightforward, provided a great opportunity to explore chart.js, a powerful visualization tool.
The API
The API was straightforward to implement but encountered challenges with Cross-Origin Resource Sharing (CORS). To address this, I employed the Koa-Cors middleware, ensuring secure communication between domains.
Access Limitations
To restrict access to approved applications/sites, I integrated a simple validation mechanism against a predefined list of clients stored in the configuration.
What I Gained by Building Page-Logger
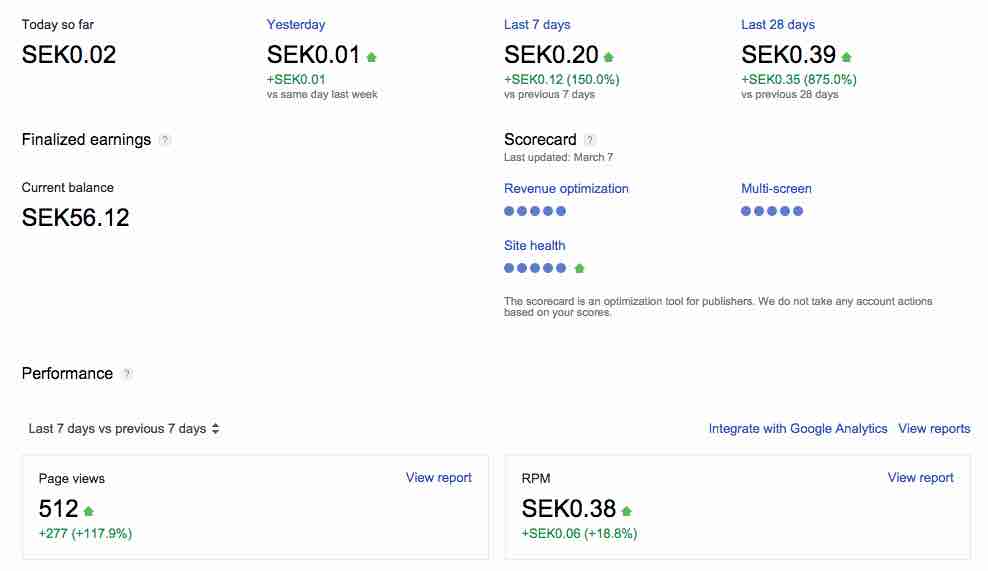
Primarily, I undertook this project to learn, and in that regard, it was a resounding success. However, to my surprise, I also generated revenue. By analyzing the page view data, I identified top-performing blog posts and strategically placed AdSense ads. The results were modest but encouraging, demonstrating the power of data-driven decision-making.
In conclusion, page-logger was a rewarding side project that taught me valuable lessons. I hope this post inspires you to embark on your own projects and leverage data to drive success.